

start | next step
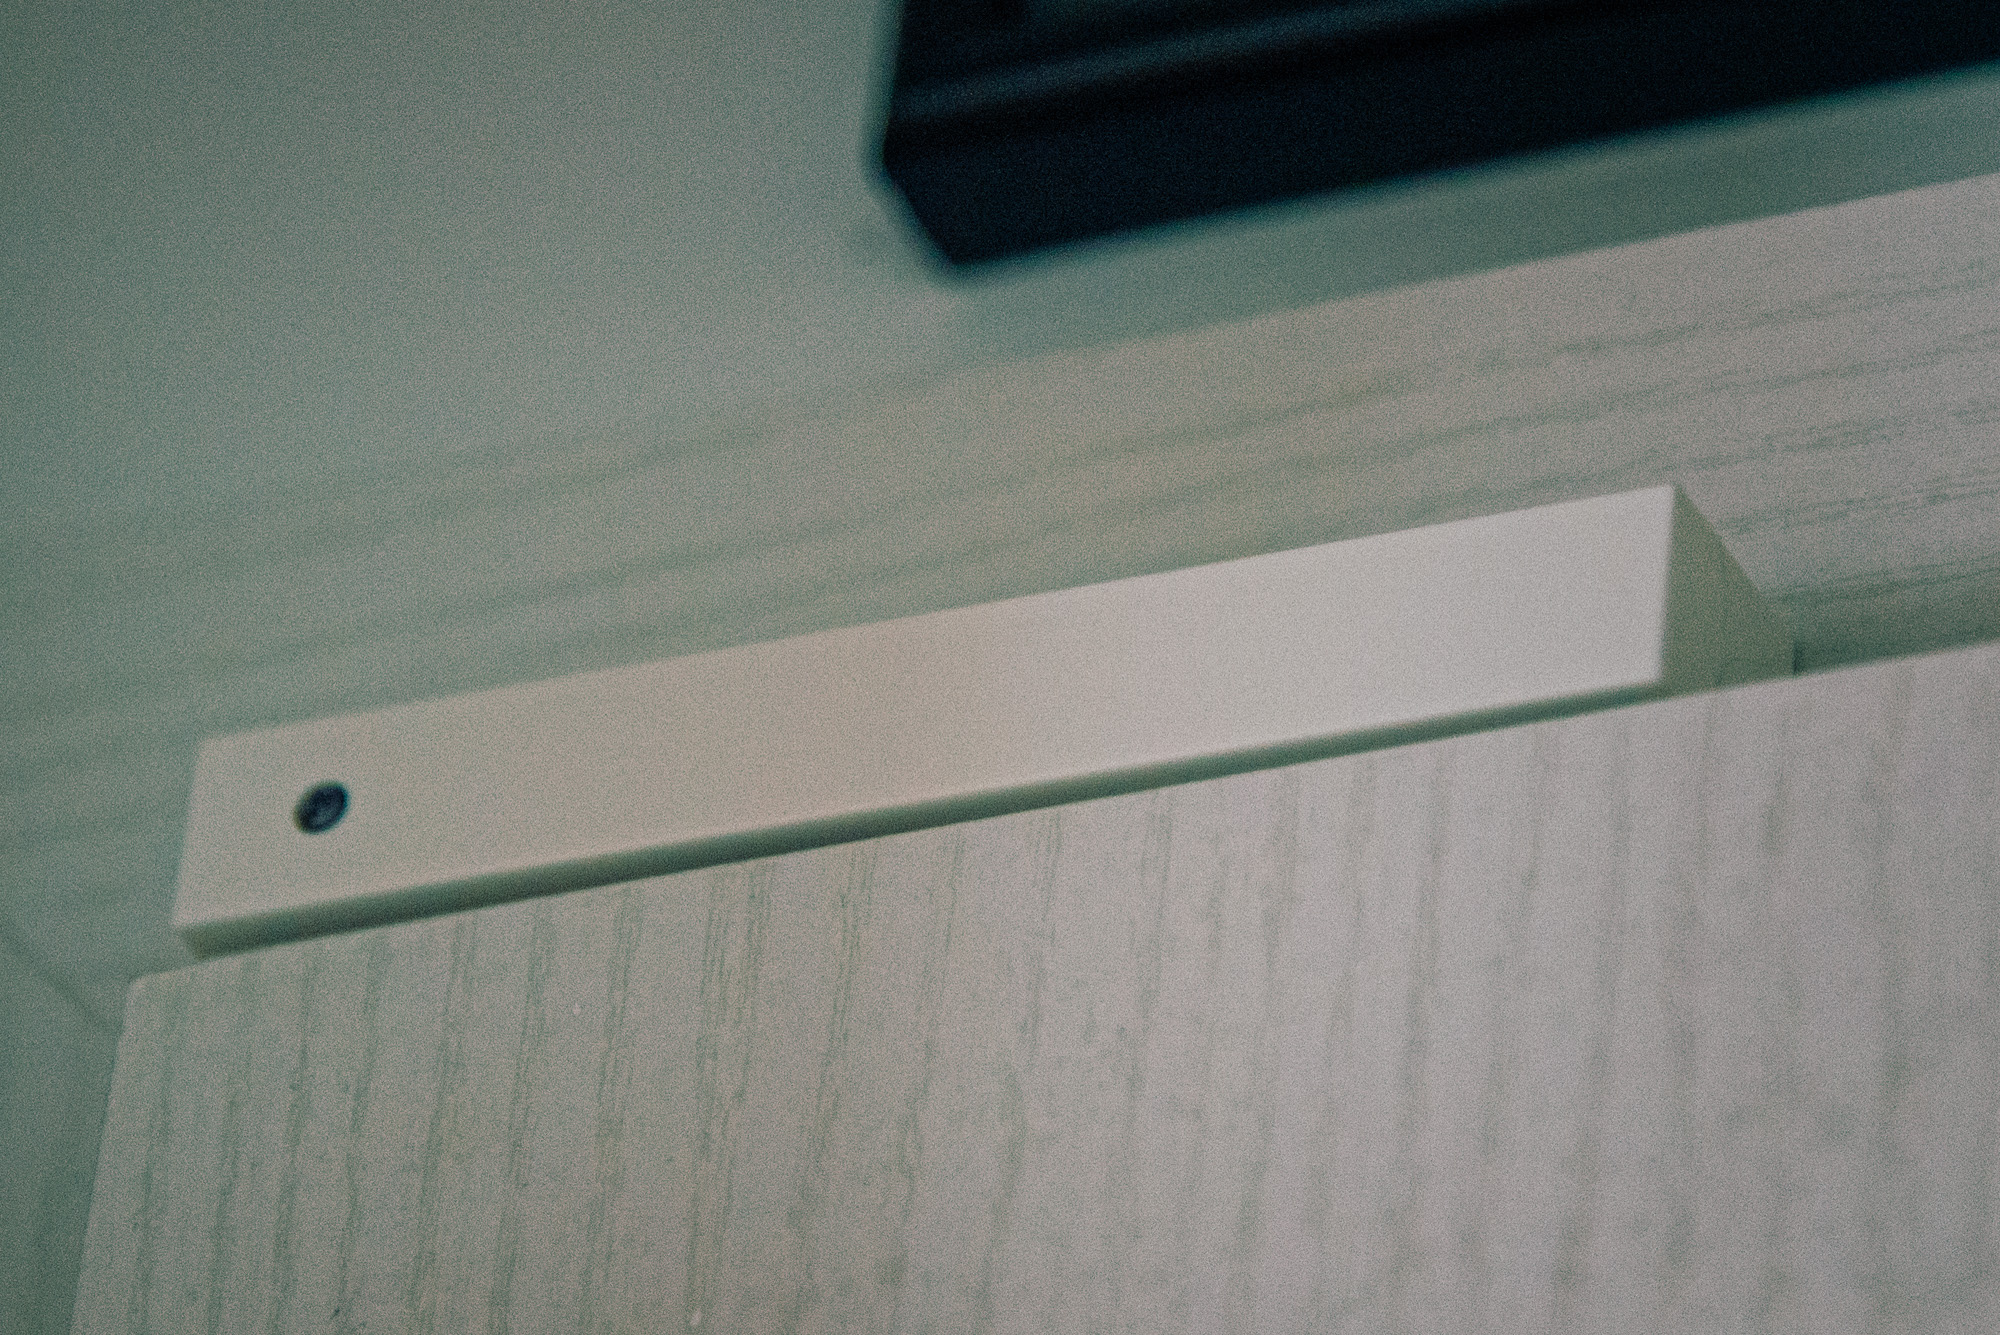
I explain the work flow by adding a new door/window contact HM-Sec-SCo.
Step 1: pair your new homematic component
login vie ssh to your raspberry pi. Use the pi user with your password. Now you need to start the homegaer CLI (command line interface): by calling the command „homegear -r“.

You can type „help“ to see the available commands. Now you need to select the family which you wan to use. Homegear supports different families. Homematic is family 0:

Time to start the pairing mode. After that you have 60 seconds time to run through your home and press the pairing button on your homematic device. In case of HM-Sec-SCo this is the LED button on top:

After you pressed the pairing button on your device it takes a few seconds and in most cases it acknowledge the successful pairing by showing a green LED.
Type „ls“ in the command line to check if you had success:

You see your HM-Sec-SCo is there. Good idea to give it a name. That you can identify it later on:

Possible that your device as not the latest firmware than you see it marked with an asterix „*“. In this case call „peers update xx“ where xx is the number of your device in the list and wait. Normally the indicator LED of the device shows the update process. Done! Now we can go to paper UI of openHAB.